Designing parts that can actually be manufactured and assembled is one of the most valuable skills you can develop as a mechanical engineer. It’s what separates a good engineer from a great one. Here’s why:
Companies are desperate for engineers who can design manufacturable parts—parts that start with cost efficiency in mind. It’s simple: money talks.
Let me give you a real-world example. Kat, a junior engineer, designs a CNC-machined part that costs $1 per unit to manufacture. Not bad, right? But then you realize a car company needs 100 million of those a year. That’s $100 million on just one part.
Then along comes Alex, a senior engineer. He redesigns the part using DFMA principles—Design for Manufacturing and Assembly—and brings the cost down to $0.90. Boom. Ten million dollars saved on a single component.
Multiply that by the thousands of parts in a car, and you start to see the massive impact a mechanical engineer with solid DFMA skills can have.
But here’s the kicker: most engineers don’t actually apply DFM. Not because they don’t know better, but because it’s easy to deprioritize. With tight deadlines, changing specs, and pressure to just “get it done,” considering manufacturing constraints often falls to the bottom of the list. And with so many processes—each with their own quirks—it’s no surprise things get missed.
The goal of this article is to fix that. We’ll go process by process and show you the real-world challenges, when to use each one, and how to apply key DFM rules that make your designs cheaper, faster, and easier to manufacture.
What is DFM, really?
Design for Manufacturing is about designing parts that are easy to make—inexpensive, fast, and repeatable. Design for Assembly (DFA) goes hand-in-hand: minimize parts, make them easy to align, snap together, and not require an industrial octopus arm to assemble.
Together, they’re DFMA. If cost, speed, or quality matters, DFMA matters.
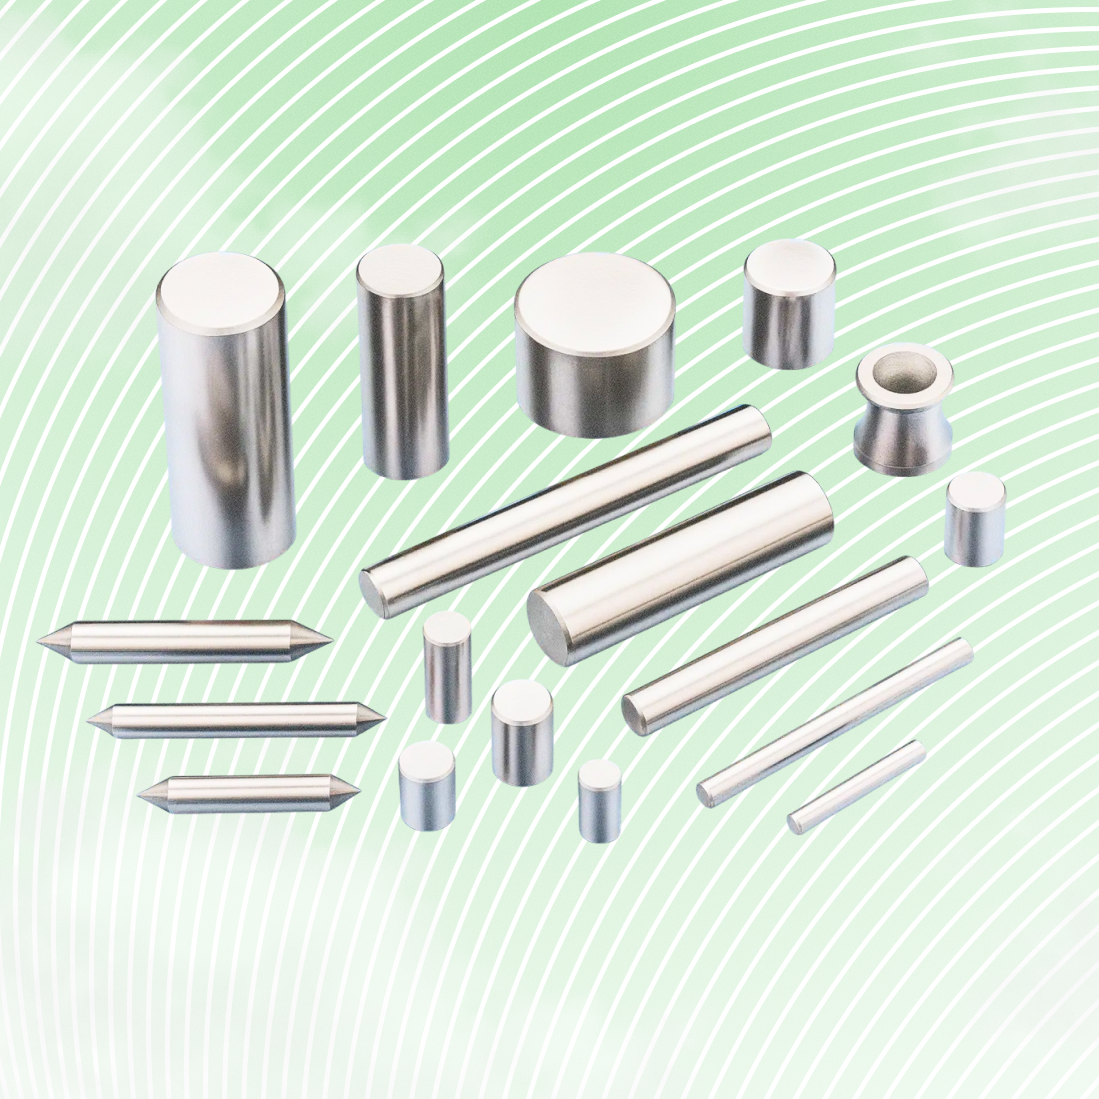
1. CNC Machining – Subtractive, Precise, Powerful
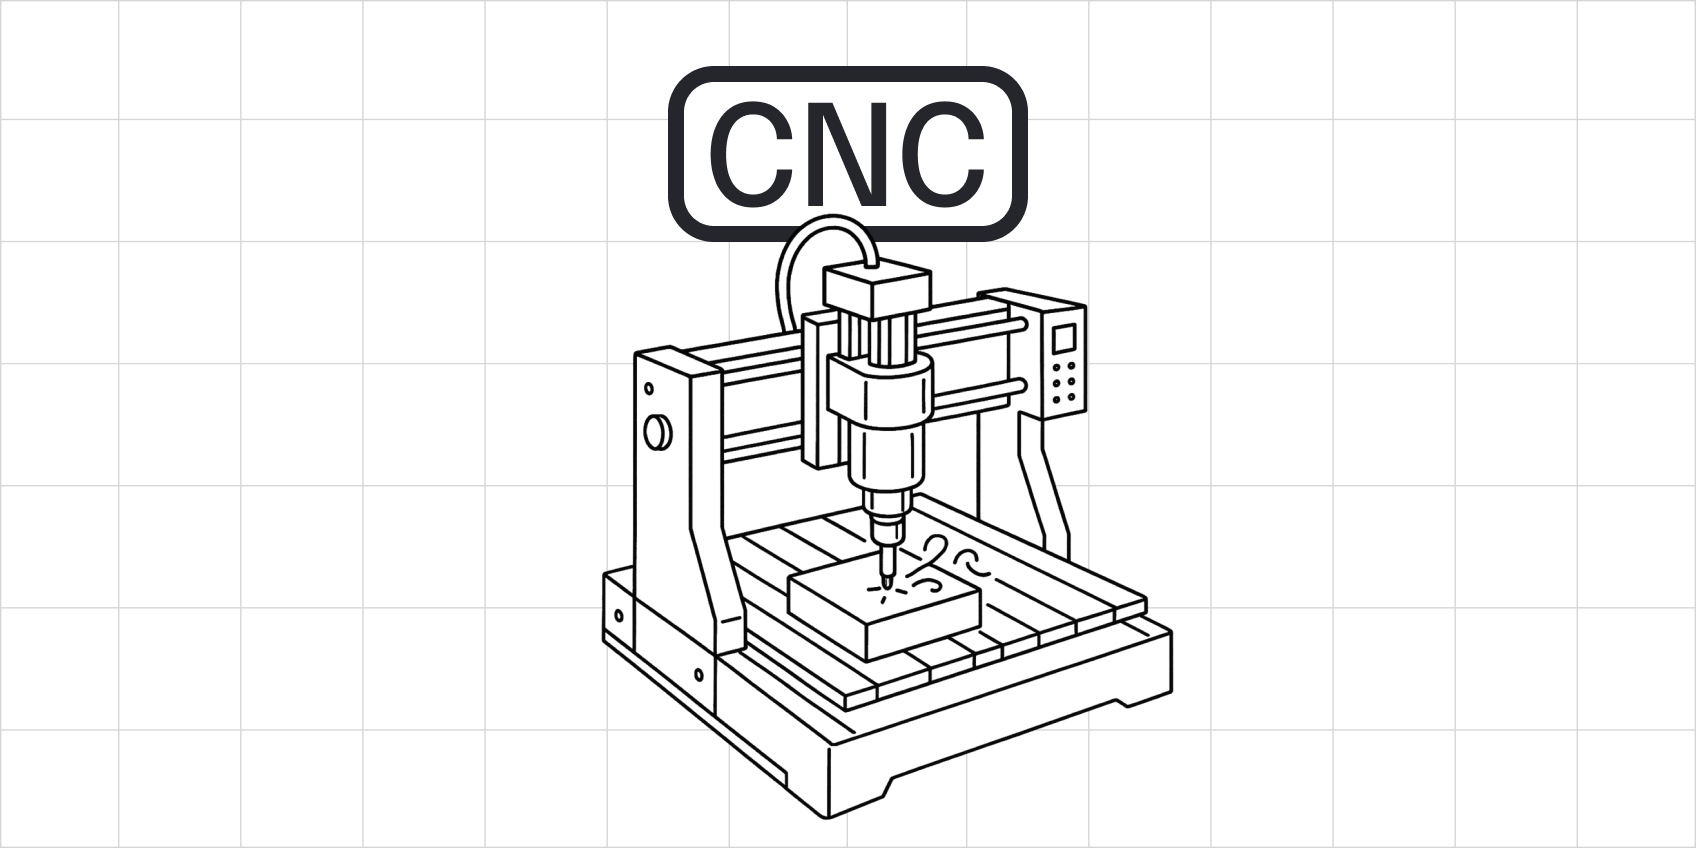
CNC machining is like sculpting with robots. You start with a solid block of material (usually metal or plastic), and cut away everything that doesn’t look like your part.
Best for:
- Low to medium production volumes
- High precision parts
- Metals and engineering plastics
- When tolerances matter (aerospace, medical, robotics)
Challenges:
- Expensive for high volume
- Complex geometry = complex setups = $$
- Multi-axis machines exist, but fixturing is still a bottleneck
- Poor choice for internal features, deep cavities, or organic shapes
Key DFM Rules:
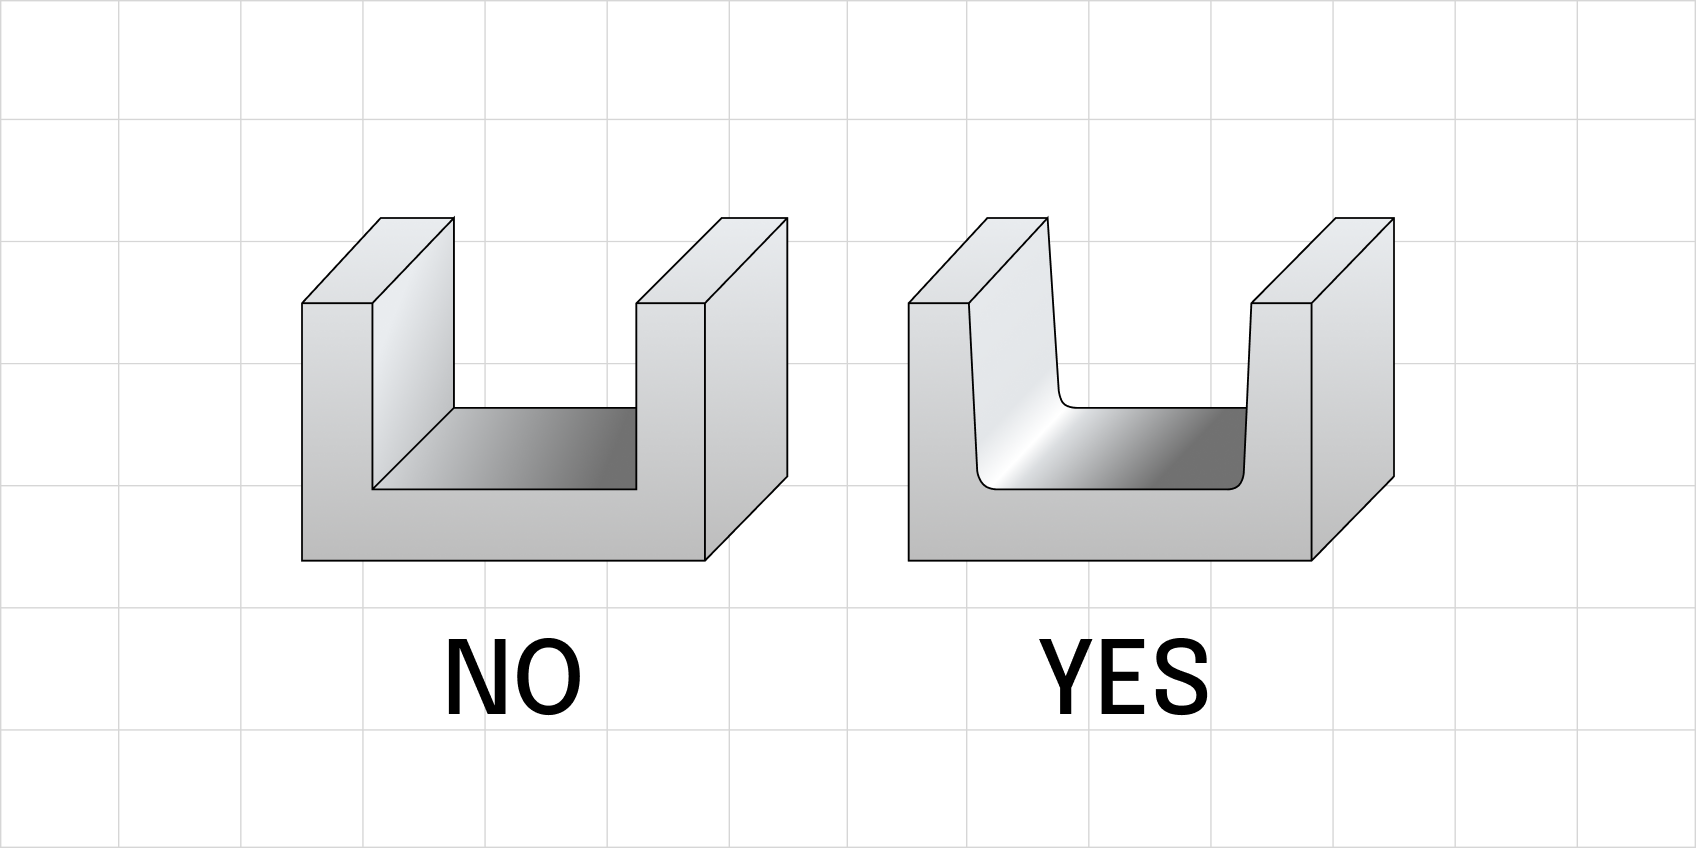
- Consider tool access: No tool can cut around a 90° internal corner. Add fillets.
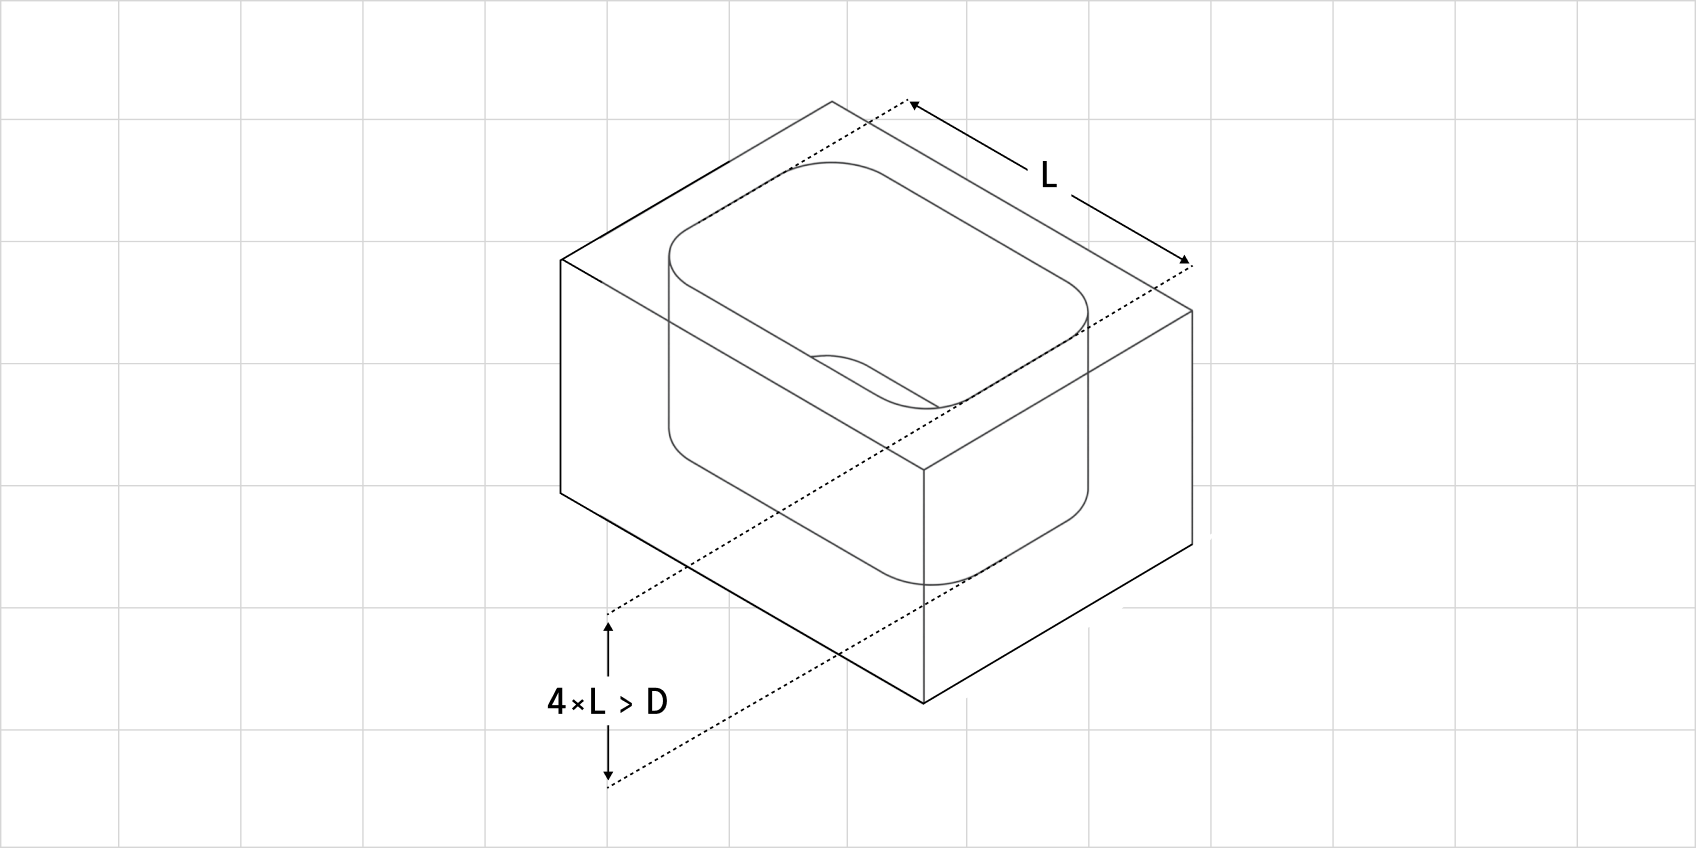
- Avoid deep pockets: Limit cavity depth to 4x tool diameter.
- Mind wall thickness: At least 0.8 mm for metals, 1.5 mm for plastics.
- No undercuts unless you plan for them: Use T-slot or dovetail cutters if needed.
- Standardize holes and thread sizes: Non-standard = expensive.
- Limit tight tolerances: Apply only to critical features, pay attention to things tighter 0.005
- Small features = big problems: Avoid anything < 2 mm unless you like broken tools.
- Add flat areas for clamping: Makes workholding way easier.
-
2. Injection Molding – The Mass Production Workhorse
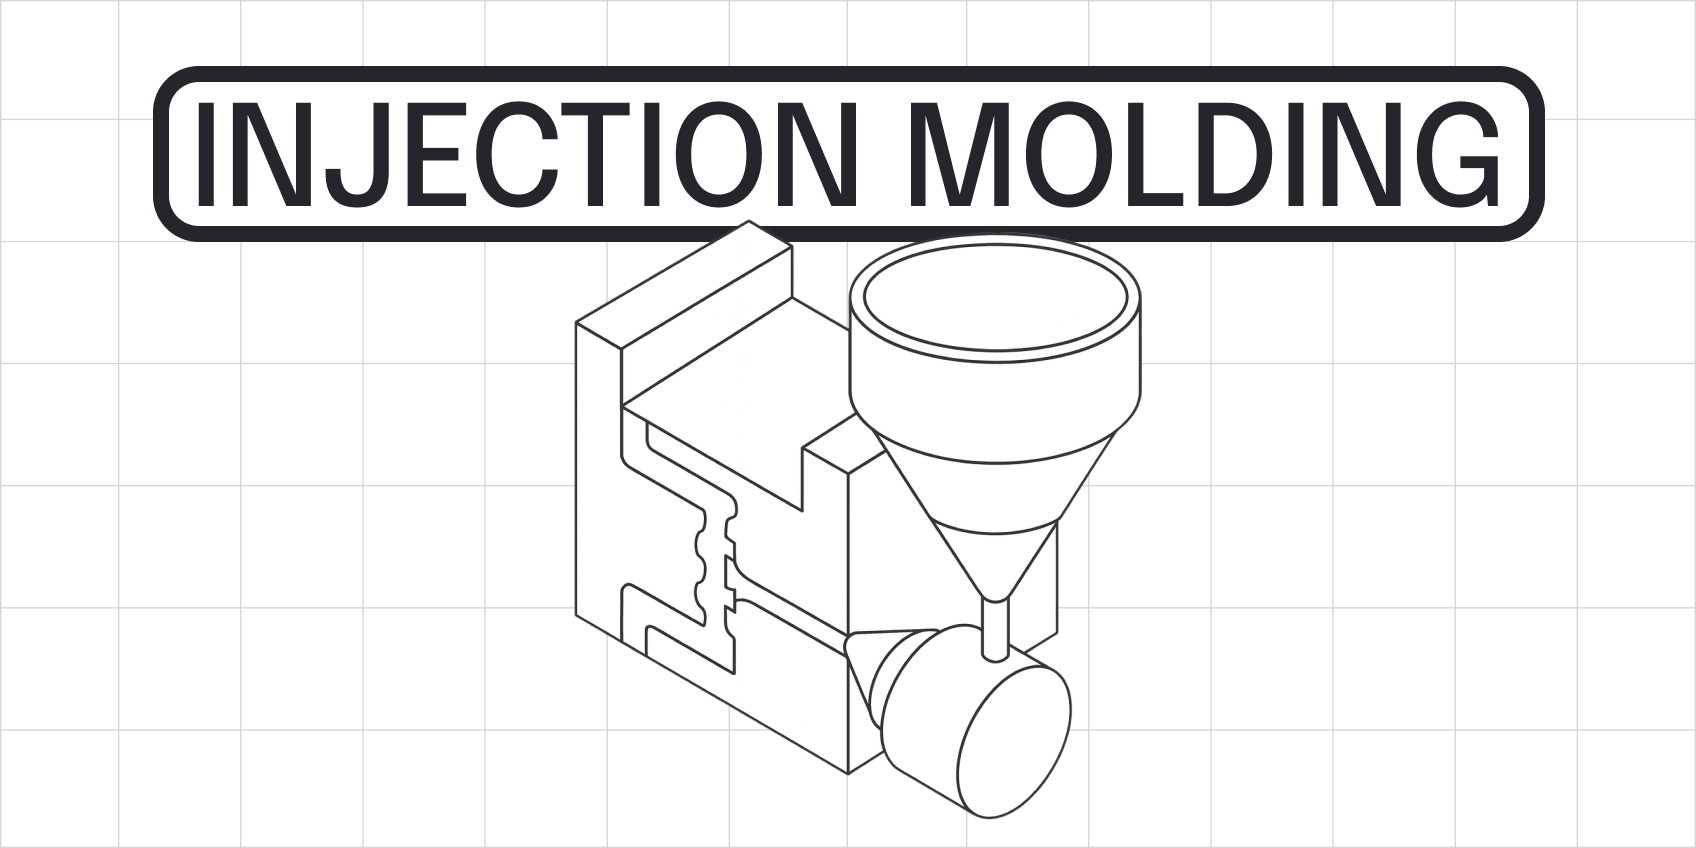
Injection molding is the gold standard for plastic part production. You build a mold (expensive) and shoot melted plastic into it (cheap). Repeat until the sun dies.
Best for:
- Mass production of plastic parts (10,000+)
- High repeatability
- Excellent surface finish and strength
Challenges:
- Tooling is expensive and time-consuming
- Design changes after tooling = tears
- Undercuts and side actions increase cost
- Shrinkage and warping are common with wall and volume changes
Key DFM Rules:
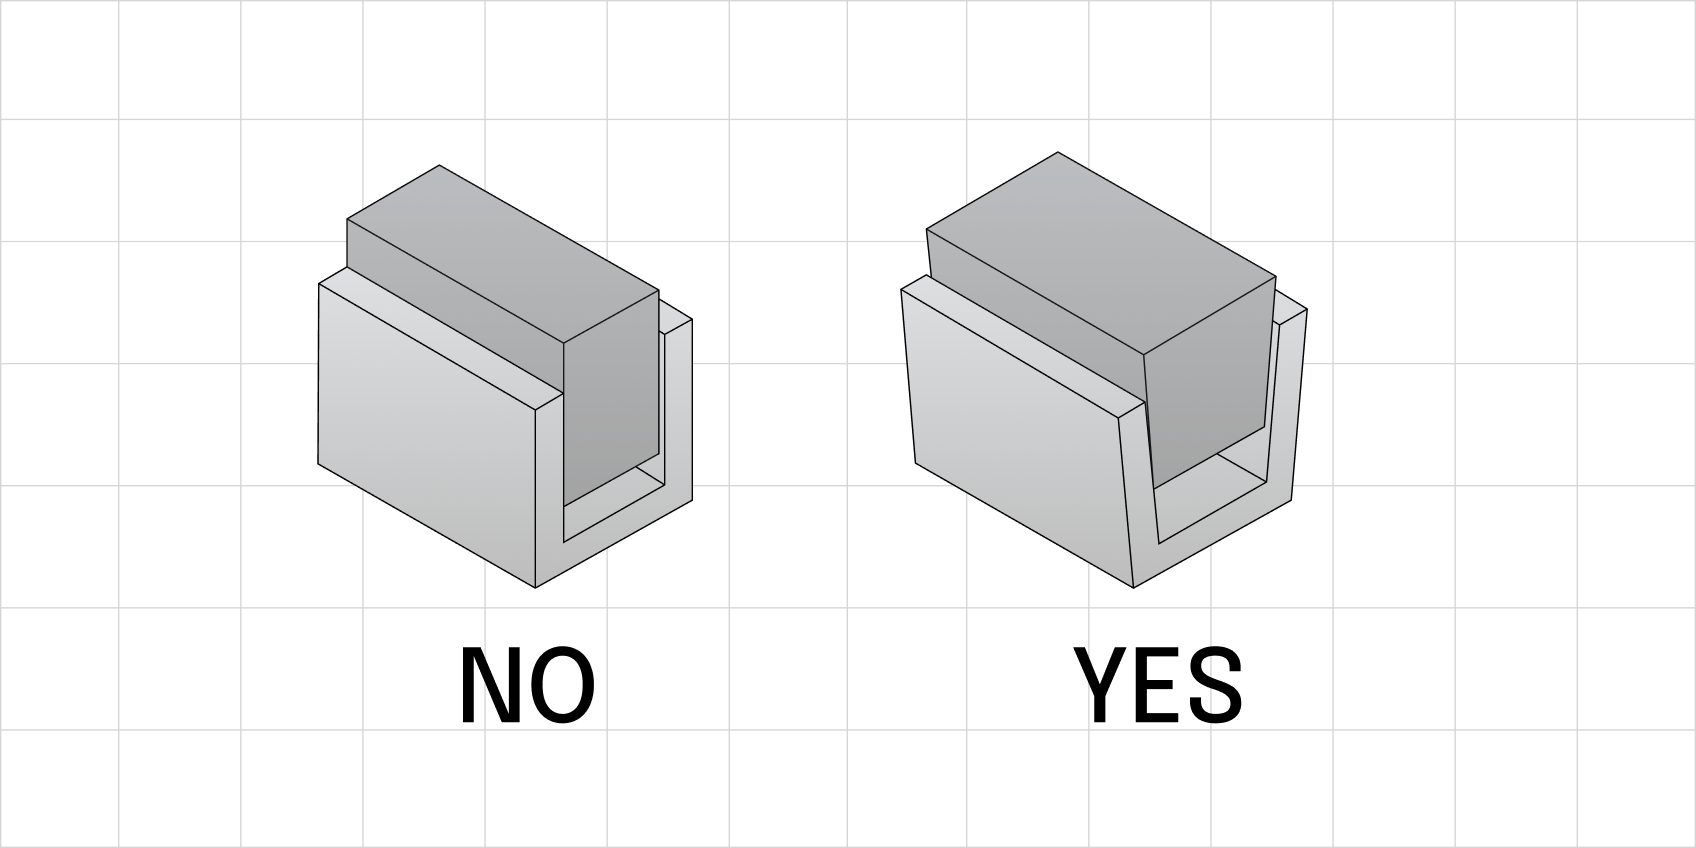
- Uniform wall thickness: Prevents warping and sink marks.
- Draft angles (1–2°): Parts must eject from the mold!
- Undercuts = higher cost: Design for lifters/side-actions.
- Account for shrinkage: 0.5–2% is common.
- Avoid 90° corners
- Add ribs/gussets: Reinforce without adding bulk.
- Watch for weld lines: Holes create them; avoid if cosmetics matter.
3. Sheet Metal Forming – Fast, Cheap, Surprisingly Strong
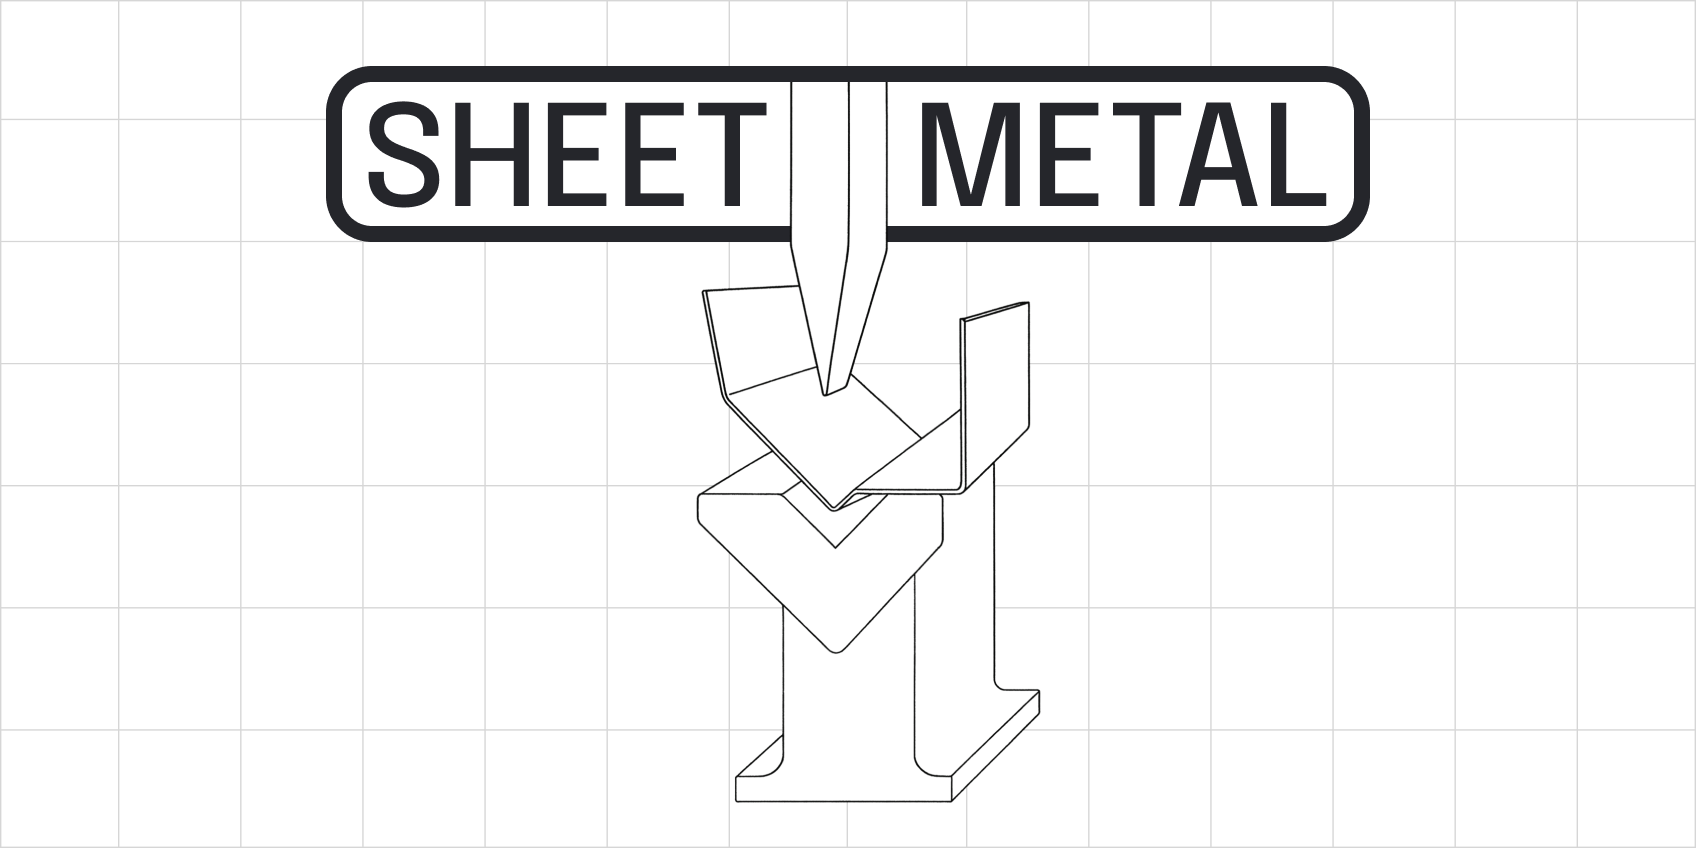
Sheet metal processes bend, cut, and form thin flat sheets of metal into functional shapes. Great for enclosures, brackets, and components that don’t need high-end surfacing.
Best for:
- Medium to high volumes
- Enclosures, brackets, and panels
- Lightweight, structural components
Challenges:
- Material springback can ruin precision if not accounted for
- Sharp internal corners are a no-go
- Holes near bends or edges can distort or weaken the part during forming.
- Deep draws and complex shapes are difficult to form and often push the limits of standard tooling.
Key DFM Rules:
- Minimum bend radius = material thickness
- Account for springback: Overbend slightly
- Use bends reliefs when close to edges
- No holes too close to edges: ≥2–3× material thickness
- Avoid extreme thickness changes
- Deep draw limit: draw ratio < 2:1
- Flange/tab length ≥ 4× thickness

4. Casting – Complex Metal Shapes at Scale
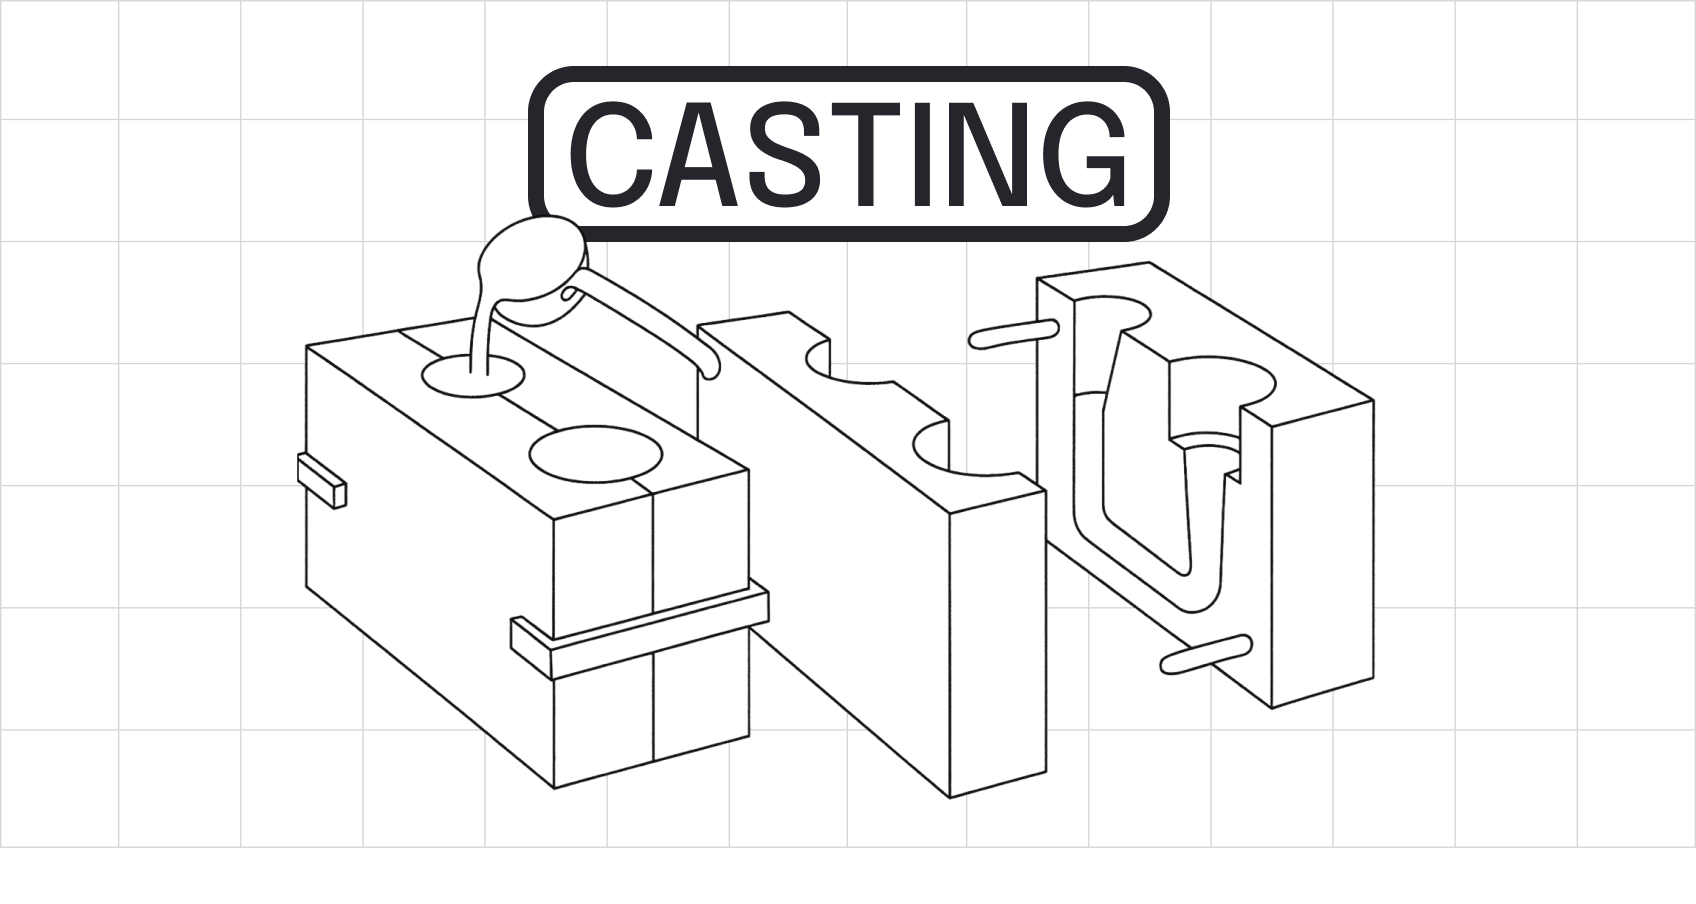
In casting, you melt metal and pour it into a mold. It’s great for complex geometries and high-volume metal production.
Best for:
- Large, complex parts
- Metal parts that don’t require super-tight tolerances
- Medium to high production volumes
Challenges:
- Shrinkage and warping during cooling
- Tooling can be expensive and slow
- Surface finish usually needs post-processing
- Dimensional accuracy < CNC
Key DFM Rules:
- Draft angles (1–3°): Helps part come out of the mold
- Avoid sharp corners: Use fillets to reduce stress conccentrations
- Uniform wall thickness: Helps cooling, reduces warping
- Account for shrinkage: Usually 0.5–2%
- Undercuts = trouble: Design around them or use cores
5. Additive Manufacturing – Complex Shapes, Fast Prototypes
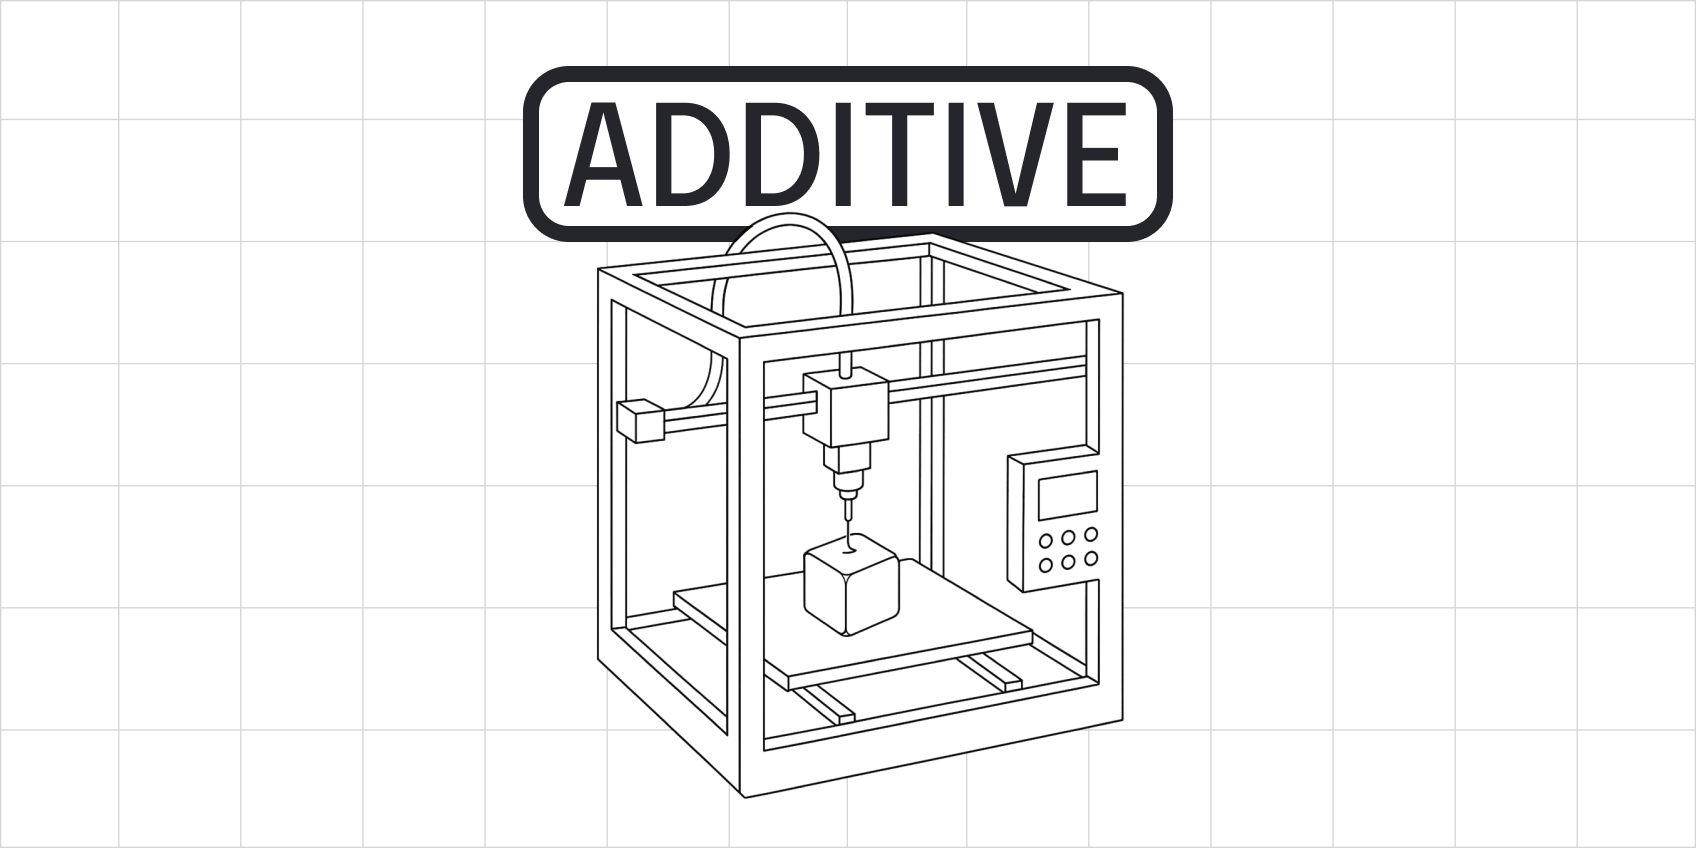
3D printing doesn’t remove material—it builds it up, layer by layer. That opens up geometries you simply can’t do with traditional methods. It’s a prototyping superpower, and increasingly viable for production parts.
Best for:
- Rapid prototyping
- Low-volume production
- Complex internal geometries
- Quick design iteration
Challenges:
- Surface finish can be poor (especially FDM)
- Post-processing is often required
- Mechanical properties vary by orientation
- Supports can be difficult to remove
- Part size is limited by printer bed
Key DFM Rules:
- Orientation affects everything: Surface finish, strength, and print time.
- Watch for shrinkage: Common with thermoplastics and resins.
- Avoid trapped voids: Include escape holes or rethink design.
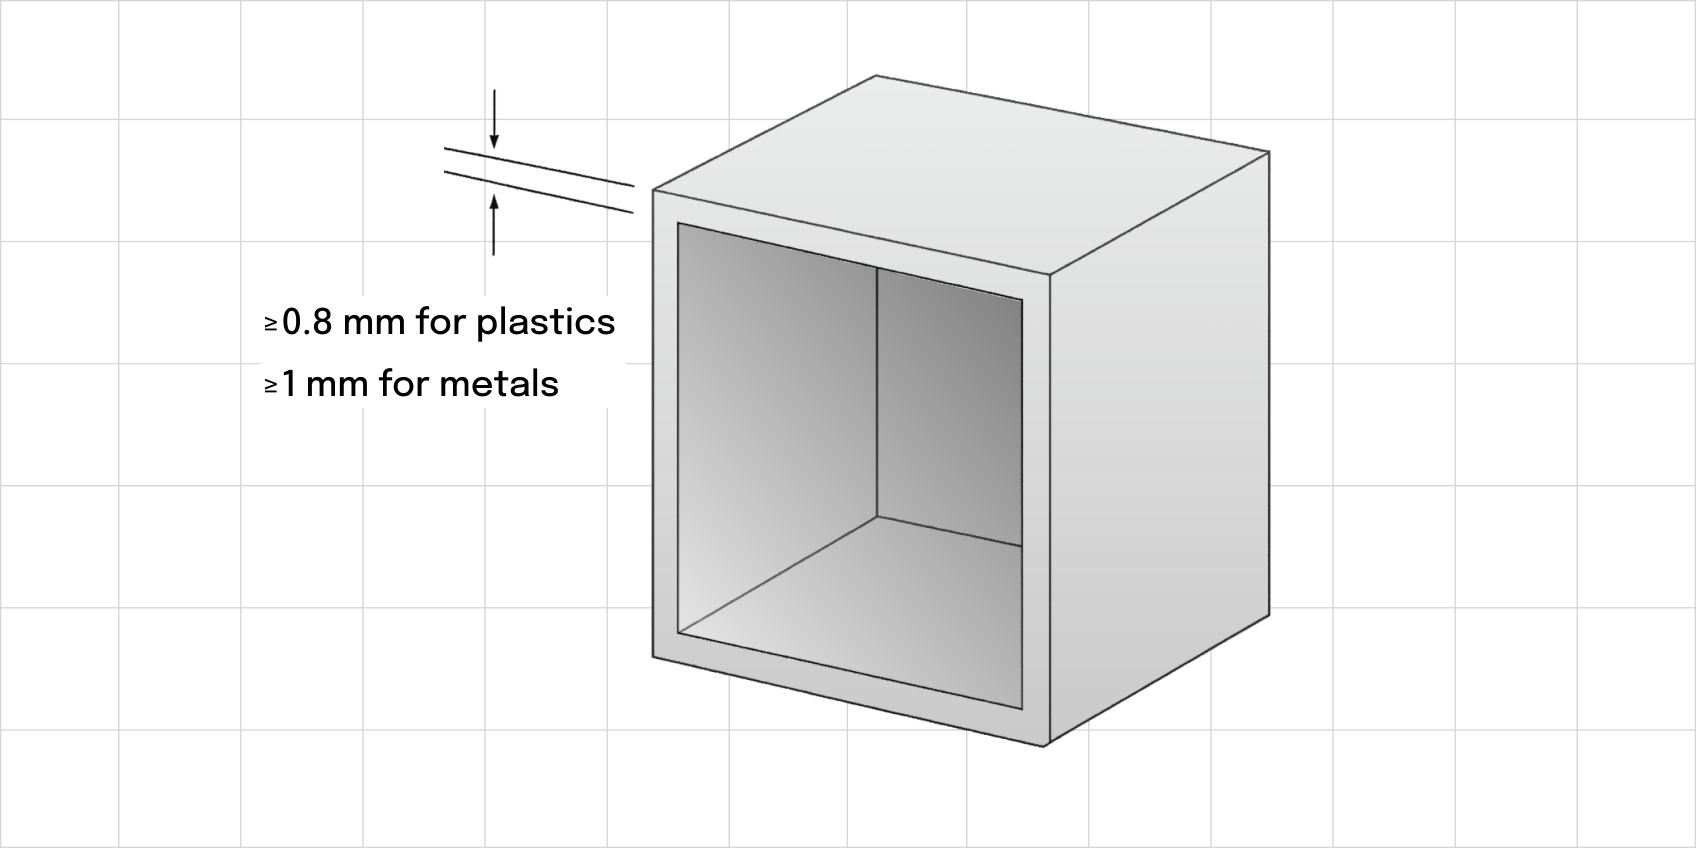
- Mind your walls: ≥0.8 mm for plastics, ≥1 mm for metals.
- Surface finish isn’t great: Especially with FDM. Plan for post-processing.
Final Thoughts
You don’t need to memorize every rule for every process. You just need to know which process you’re designing for—and when to ask for help. DFM is about collaboration, not perfection.
Also, please rememeber this isn’t a complete guide to all manufacturing nuance—but it’s more than enough to get you started. The right answer will always depend on your material, budget, process, and about a hundred other variables. But if you follow these principles, you’ll be way ahead of most engineers.